




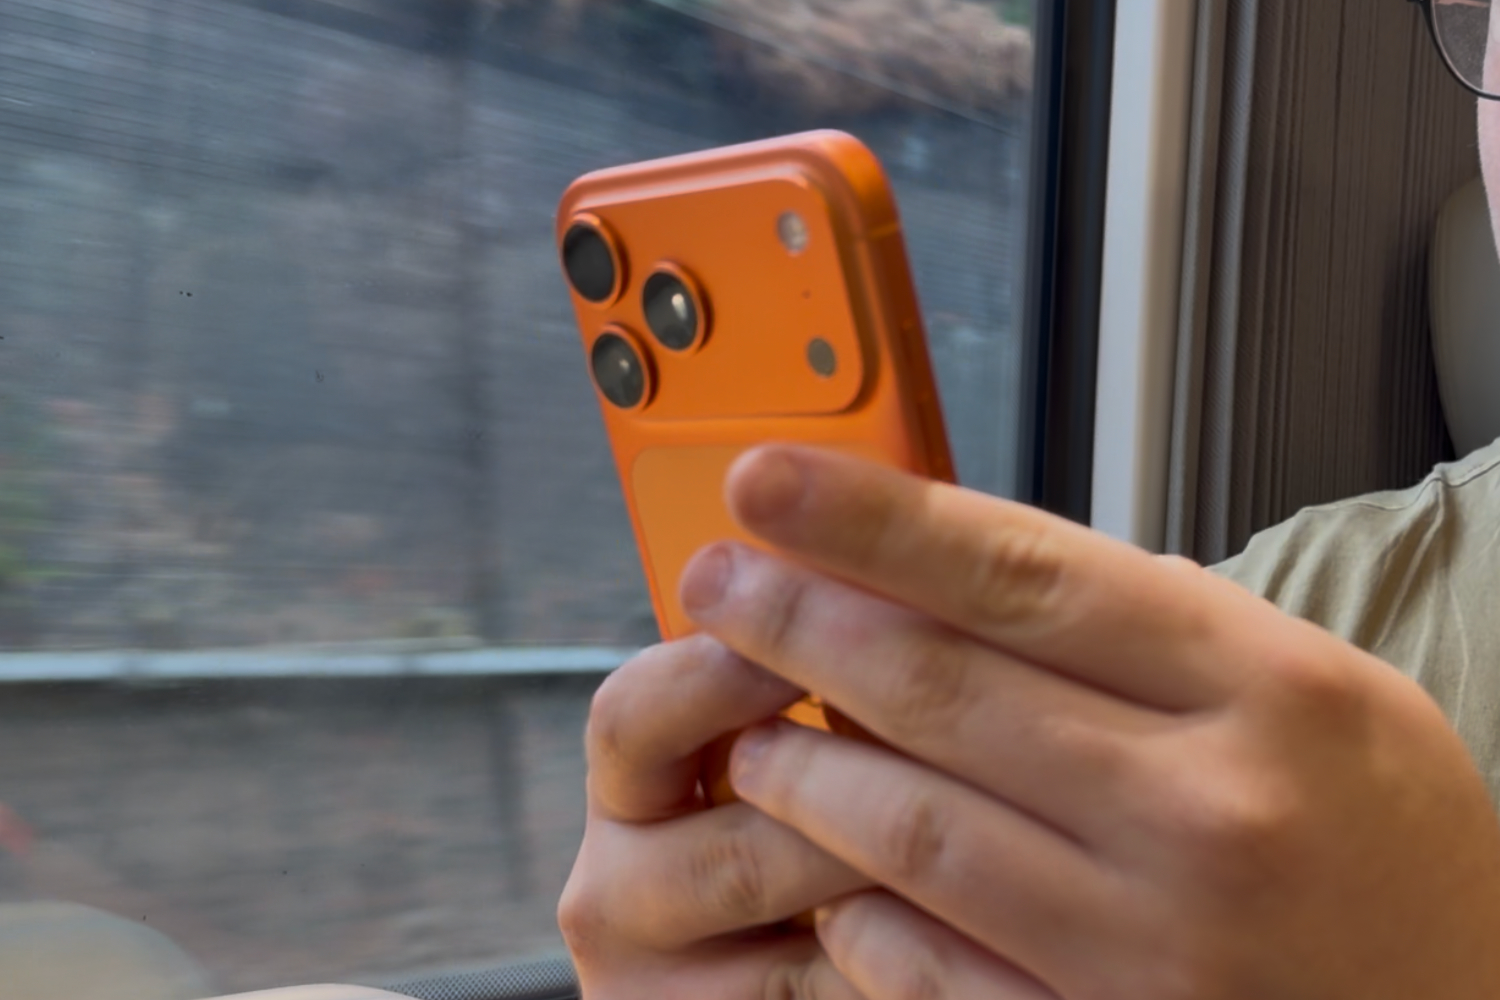
Your iPhone can snap excellent photos with no effort. Point the camera, press the button, and Apple’s image processing handles everything from exposure and colour, to noise reduction. But while this works brilliantly most of the time, it also means that many photographic decisions are made for you. If you own a compatible iPhone Pro and want more control over your pictures, switching to Apple ProRAW gives you much greater control over the final result.
It won’t magically improve every picture, of course, and the files are enormous. But if you want to take your smartphone photography game to the next level, it can definitely help you create a better finished image. Here’s how.
What is Apple ProRAW?

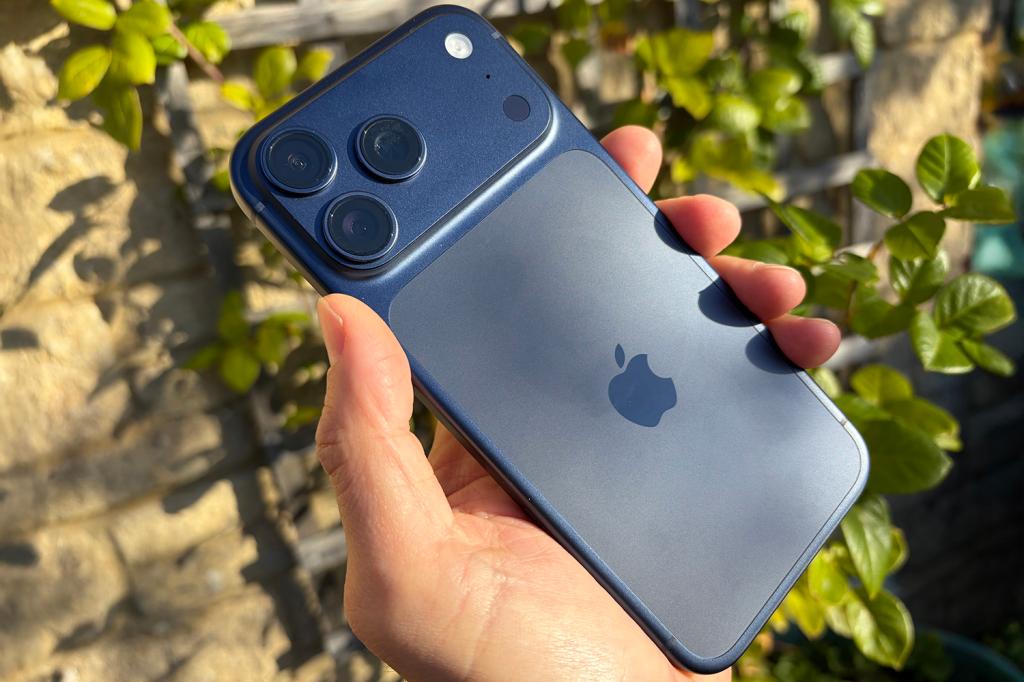
The main reason to shoot in RAW is control. Instead of accepting all the decisions your iPhone makes about how a photo should look, you get far more freedom to adjust its brightness, exposure, colours, shadows, highlights and white balance afterwards.
When you take a photo with a traditional camera, you can usually choose between JPEG and RAW. A JPEG is processed inside the camera and arrives looking largely finished. A RAW file retains much more of the information captured by the sensor, allowing you to decide how the final image should look when you edit it.
Smartphones take this processing considerably further. An iPhone rapidly captures and combines multiple frames, then uses computational photography to adjust elements such as exposure, colour, contrast, sharpness and noise. The resulting HEIF or JPEG usually looks polished and is ready to share immediately, but many of those creative decisions have effectively been made for you.
Apple ProRAW offers a middle ground. It combines the additional image information associated with RAW photography with Apple technologies including Smart HDR, Deep Fusion and Night mode. The resulting DNG file gives you much more room to alter the finished photograph while retaining the benefits of the iPhone’s computational photography.
In practical terms, you can make a sunset warmer, reduce an overly bright sky, lift a person out of dark shadows, correct colours under awkward indoor lighting, or change the overall mood of a photograph. Those adjustments can be made to ordinary iPhone images too, but ProRAW gives you more breathing room before detail is lost.
There’s also an important catch — ProRAW won’t necessarily look better before you edit it. A standard iPhone photo may initially appear punchier and more polished because Apple has already done most of the work. ProRAW’s real advantage is that it puts more of the final result in your hands.
Which iPhones support ProRAW?
Apple ProRAW is supported on the iPhone 12 Pro and iPhone 12 Pro Max, along with succeeding iPhone Pro and Pro Max models.
Owners of other iPhones can capture conventional RAW files using compatible third-party camera apps, but these files won’t provide precisely the same combination of RAW image data and Apple’s computational photography processing. ProRAW also cannot be used with Live Photos, Portrait mode or when recording video.
How to turn on RAW photos on your iPhone
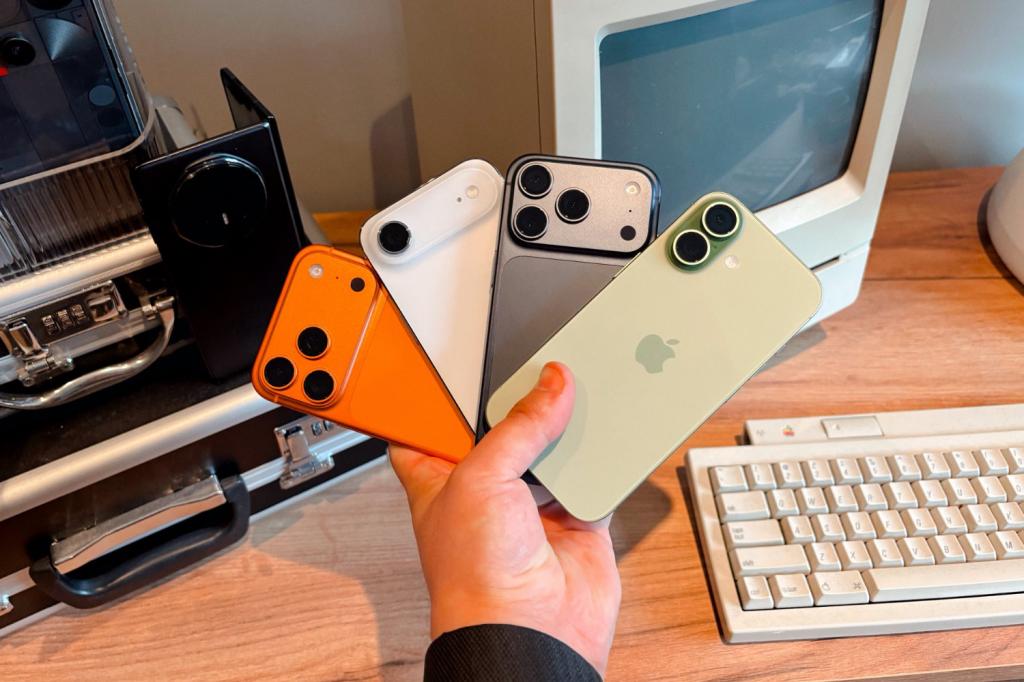
Open Settings, select Camera, then tap Formats. Under Photo Capture, enable Apple ProRAW & Resolution Control.
Next, open the Camera app. You should now see a RAW control at the top of the screen. Tap it to enable ProRAW before taking your picture. You can leave it disabled for everyday snaps and activate it only when you encounter something worth capturing with greater editing flexibility.
On the iPhone 14 Pro and later Pro models, you can capture ProRAW images at either 12MP or 48MP. Press and hold the resolution control at the top of the Camera app to choose between RAW 12 and RAW Max.
RAW 12 captures images at up to 12MP, while RAW Max offers up to 48MP. That higher resolution retains more fine detail and gives you considerably greater freedom to crop into a photograph later.
Apple says only pictures taken with the 1x main camera can be saved at the full 48MP resolution. Ultra Wide, Telephoto, Night mode, flash and macro photographs are limited to 12MP. Using zoom can also change the resulting resolution.
If you want your iPhone to remember whether ProRAW was enabled the last time you used the camera, go to Settings > Camera > Preserve Settings and enable Apple ProRAW & Resolution Control.
When should you shoot in RAW?
ProRAW is most useful when a scene contains challenging lighting or fine detail, and you intend to edit the image afterwards. A landscape with a bright sky and shadowy foreground is a good example, as the additional image information gives you more latitude when balancing the exposure.
It can also be useful for sunsets, night photography, architecture, and scenes containing difficult colours. RAW Max is particularly valuable when photographing something you may want to crop later, as its maximum 48MP resolution gives you far more pixels to work with.
You don’t need expensive desktop software to edit the results, either. Apple’s Photos app supports ProRAW and lets you adjust exposure, highlights, shadows, colour and white balance directly on your iPhone. Apps like Adobe Lightroom provide more advanced controls if you want to take things further.
Don’t leave it switched on all the time
The reason ProRAW isn’t enabled by default becomes obvious when you look at the files. According to Apple’s ProRAW guidance, a 12MP ProRAW image is approximately 25MB, while a 48MP photograph is around 75MB. Apple says ProRAW files are generally 10 to 12 times larger than HEIF or JPEG images.
Shoot everything in RAW Max, and you can burn through your iPhone and iCloud storage surprisingly quickly. The format is also unnecessary for casual photographs you don’t intend to edit.
The sensible approach, then, is to treat ProRAW as a tool rather than a permanent setting. Use Apple’s normal processing for everyday snaps, then tap RAW when the lighting is difficult, the scene is particularly important, or you know you’ll want to edit the result later.




Read the full article here